This walkthrough follows a single booking from the moment a guest hits "Book a table" right through to the post-visit follow-up. It is the quickest way to see how the pieces fit together.
The example uses a guest booking through your website widget. Phone bookings and walk-ins follow the same shape — see Taking a booking by phone for the differences.
1. The guest makes a booking
The guest fills in the booking widget on your site or in your custom landing/explore page — date, time, party size, name, email, phone — and hits Book.
Behind the scenes, Make a Rezzy:
- Checks your availability against opening hours, services, and your floor plan.
- Picks and pre-allocates a suitable table.
- Creates the booking, either Confirmed straight away or Pending Payment if a deposit is needed.
- Sends the guest a confirmation email.
2. The booking lands in your diary
On the web, head to Calendar from the left-hand menu. The new booking shows up on the right day and time, attached to a table if one has been assigned.
If you prefer a list view, switch to Bookings. Filter by today's date and you will see the booking near the top.
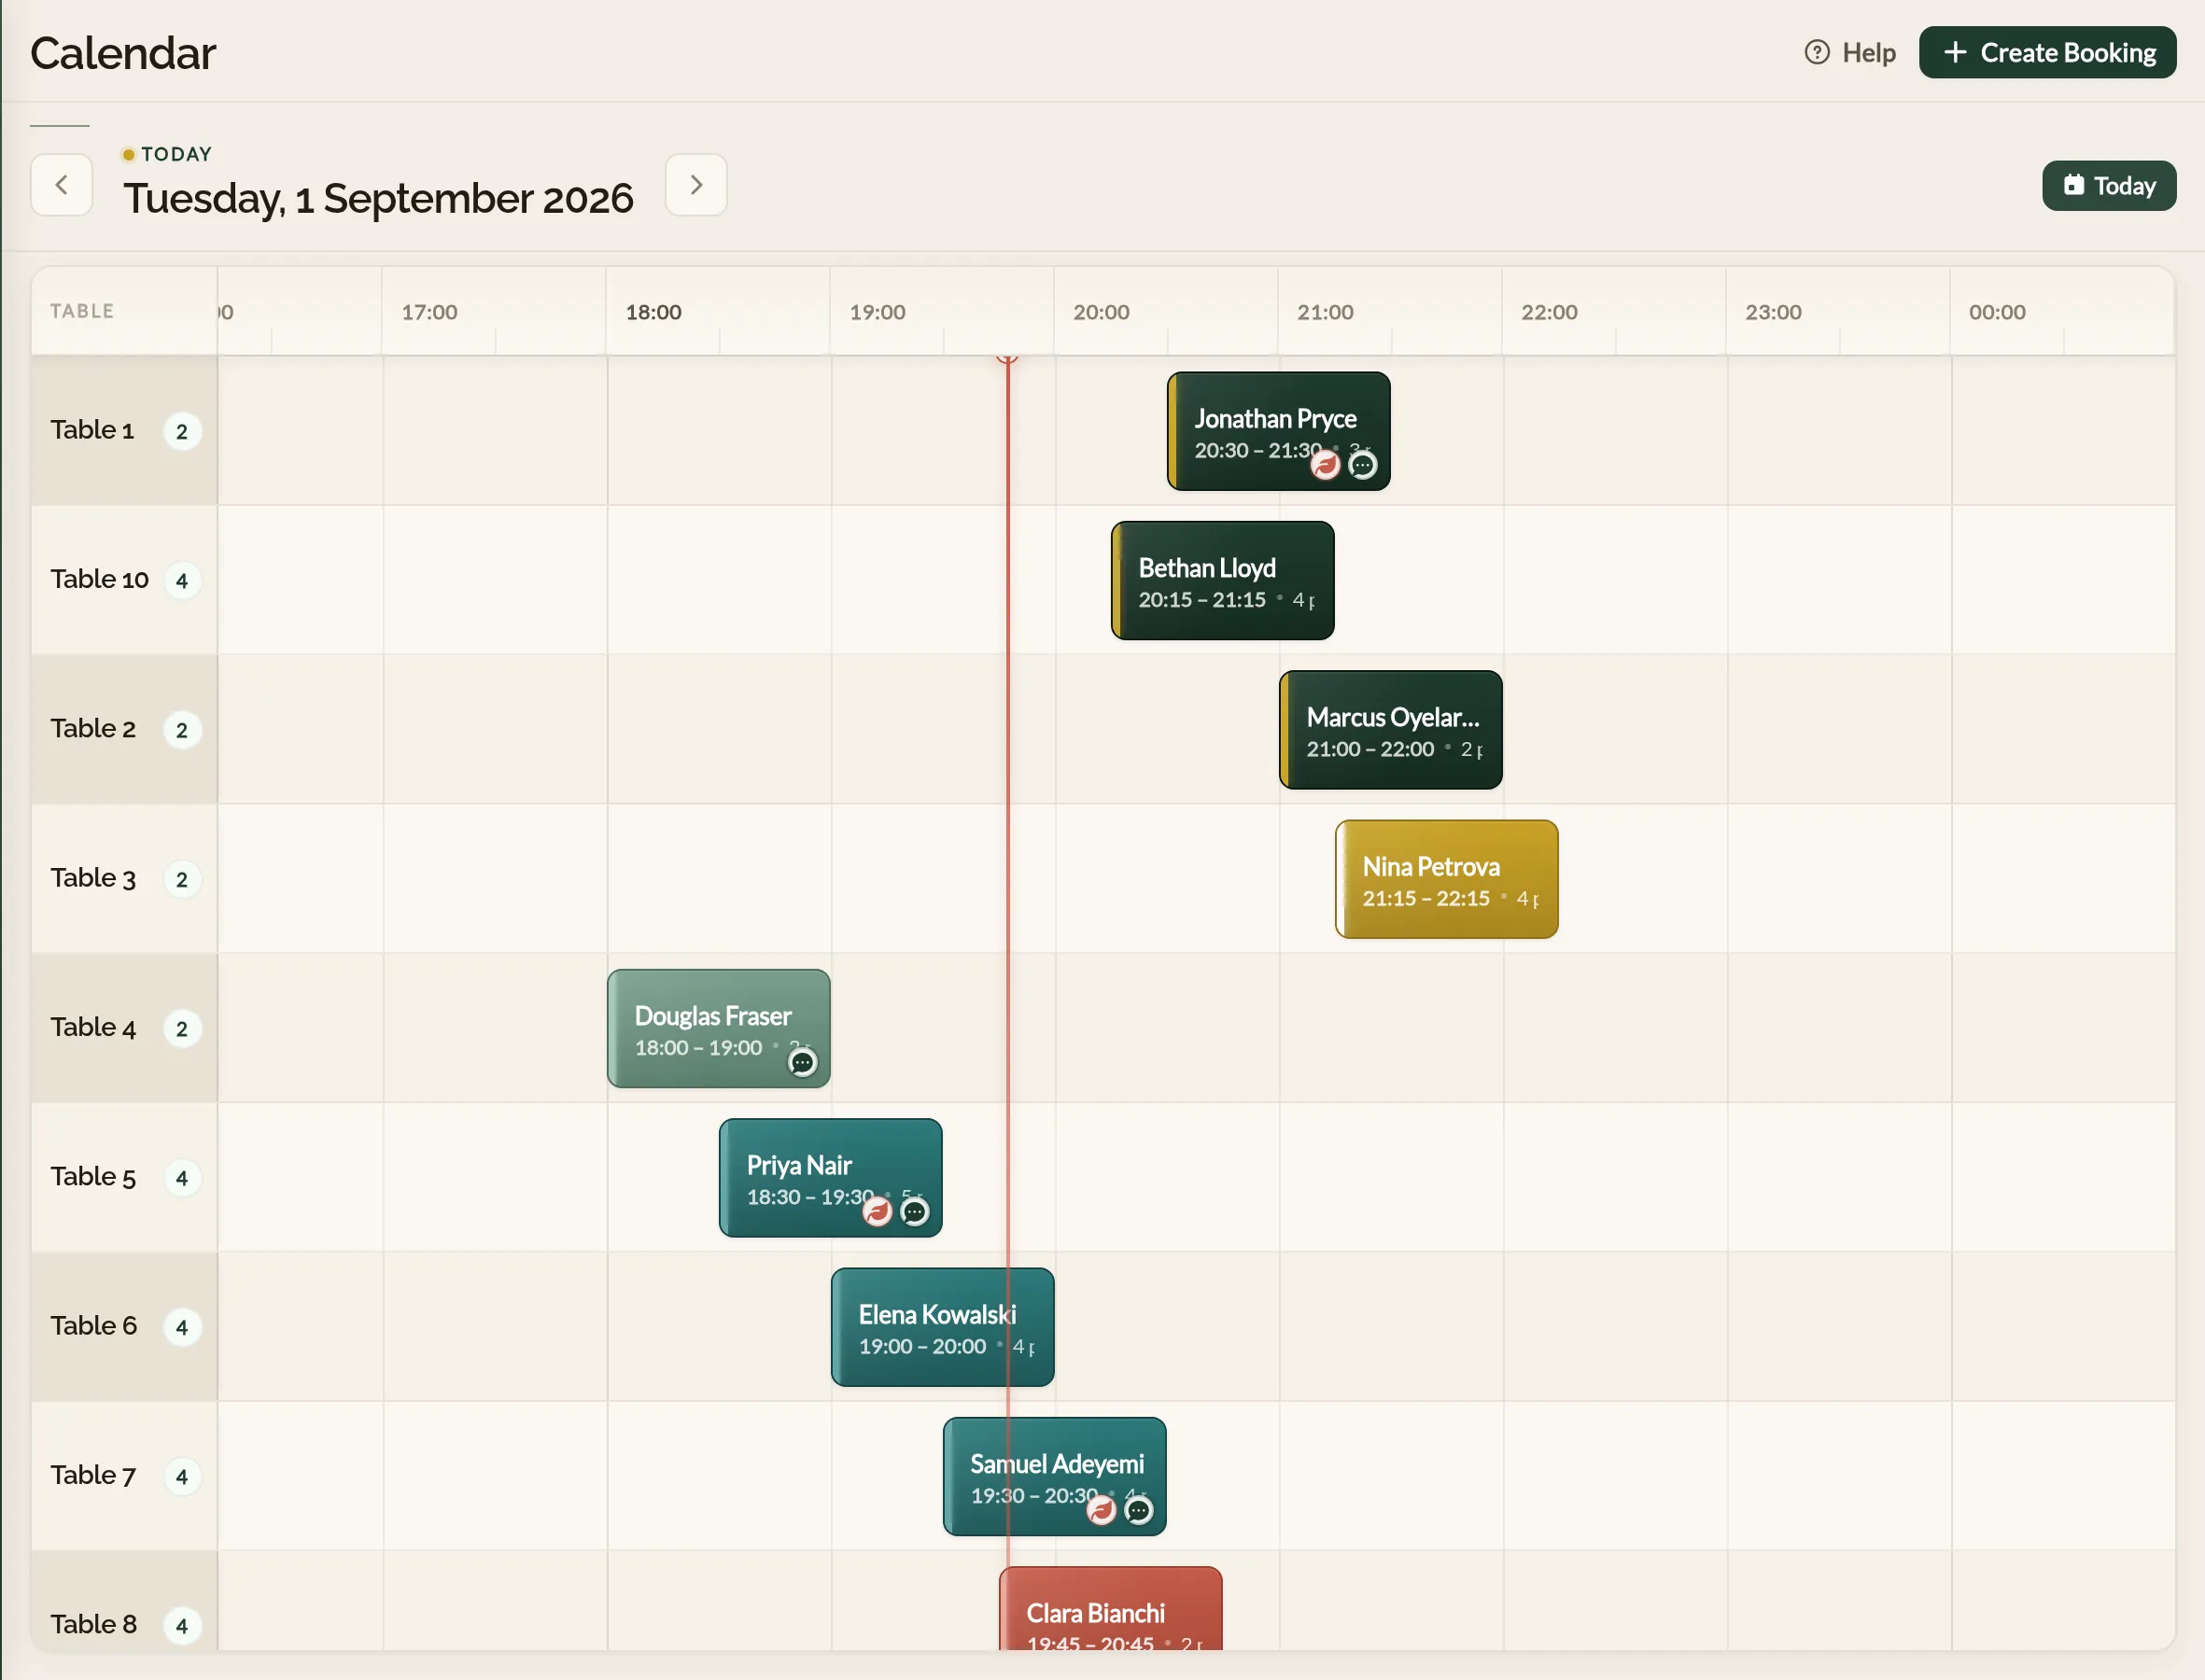
Open the Make a Rezzy app. A booking for today counts towards the figures on Today and, once its time is near, shows under Next up; every booking appears in the Diary — pull down to refresh if it does not show up straight away. Tap a booking to see the full details.
To see the timeline, open Diary and switch to Timeline. The booking appears on the right day and time, attached to a table if one has been assigned.
3. The day before — the reminder goes out
Make a Rezzy emails the guest a reminder about a day before the booking. The reminder shows the booking details and has a button the guest can use to view their booking if their plans have changed.
You do not need to do anything for the reminder to go out. See Booking reminder emails for which bookings get one.
4. The guest arrives
Before the guest arrives, make sure the table is ready and any special requests are noted.
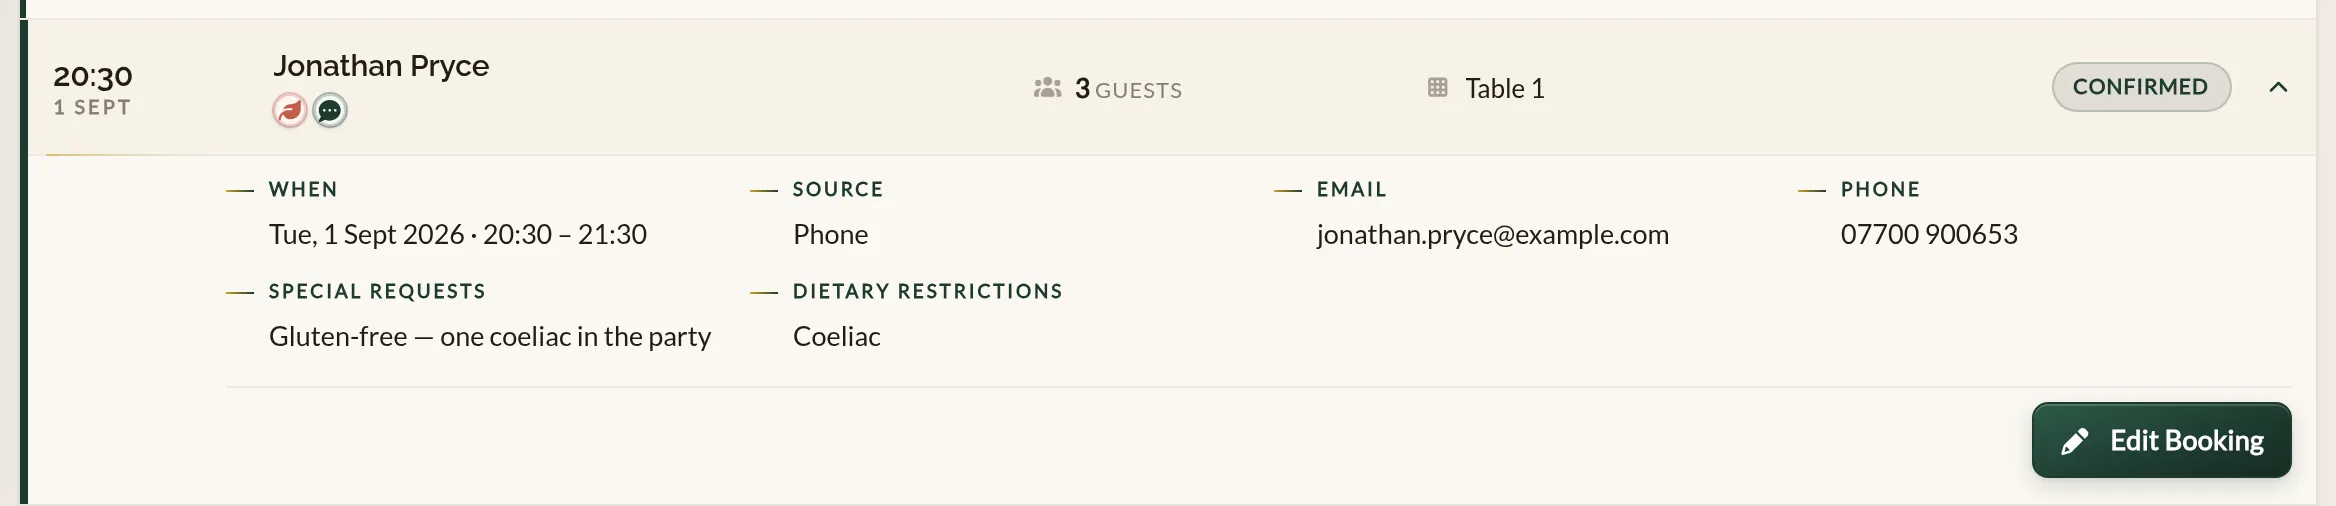
- Open the booking via either the Calendar or Bookings list.
- Click the booking.
- Take a moment to review any special requests or notes and accommodate them as needed.
5. The guest leaves — mark the booking complete
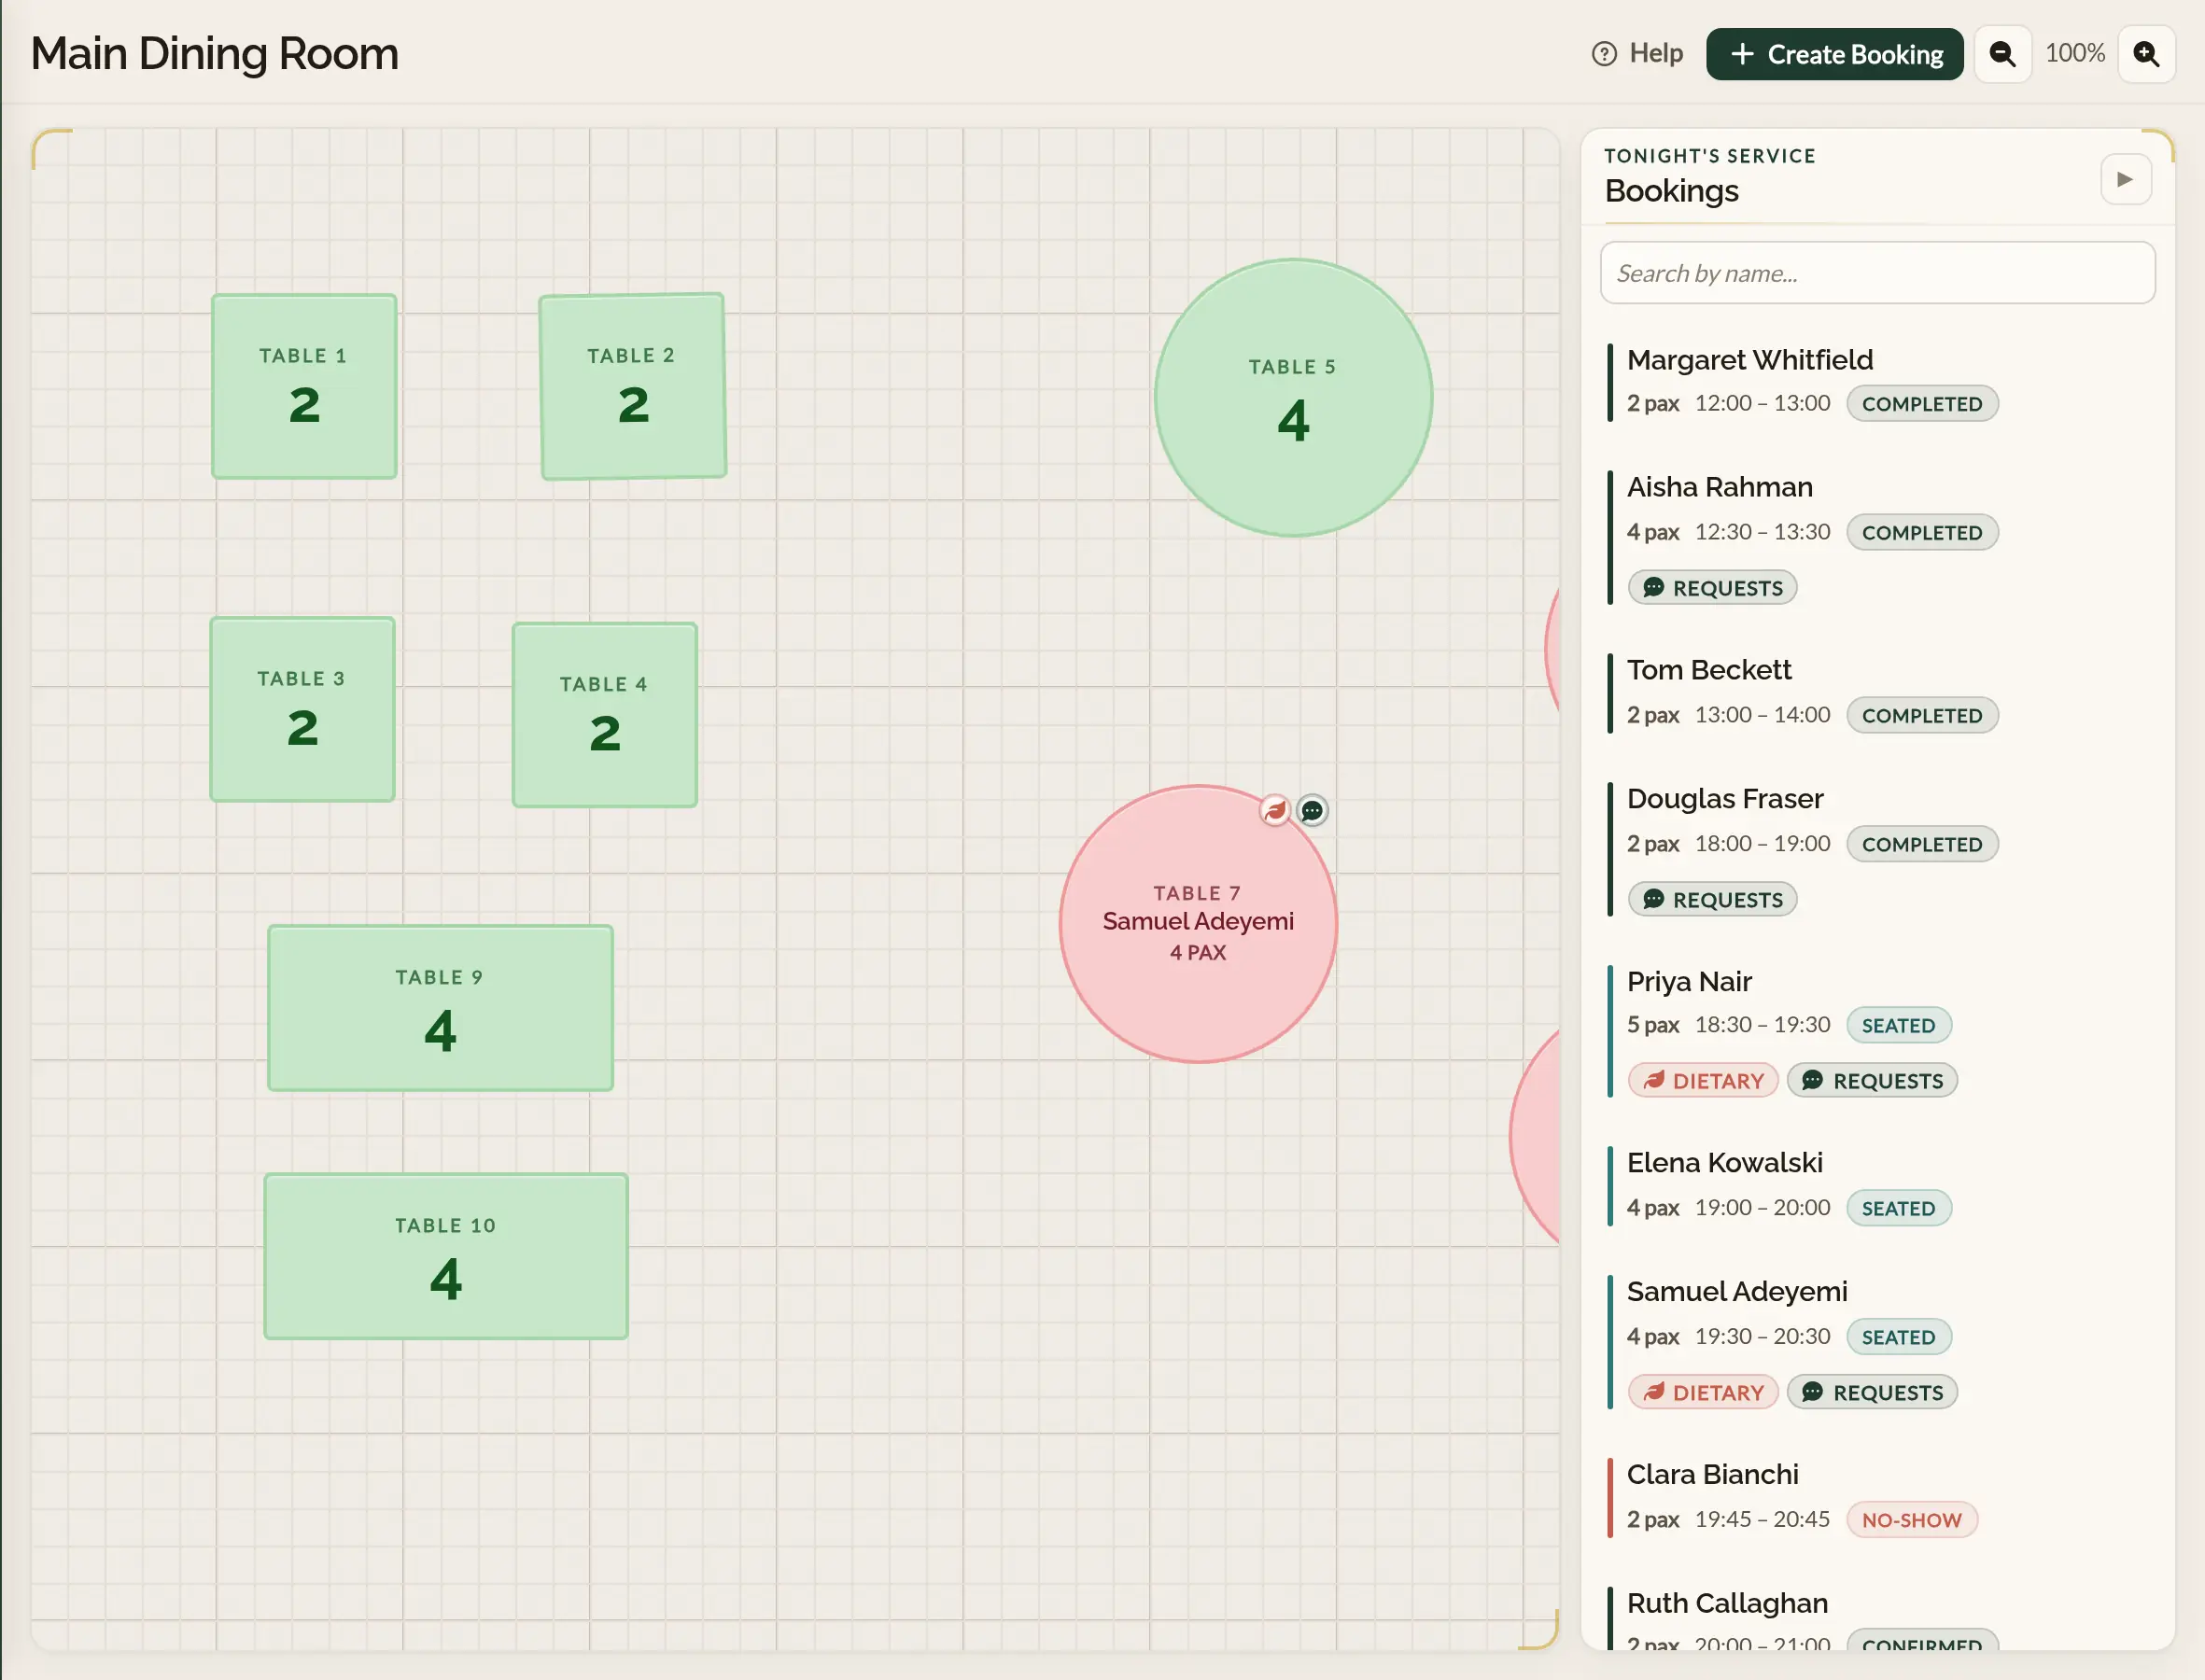
Once the guest has finished and the table is being turned over, mark the booking as Completed. This frees the table in the floor plan so your team can see at a glance what is free.
If a guest never turned up, mark the booking No-show instead. That feeds into your guest's profile — repeated no-shows are flagged the next time they try to book.
6. 24 hours later — the follow-up
A few hours after the meal, Make a Rezzy emails the guest a thank-you and an invitation to leave a review. Reviews are public on your Explore listing, so this matters — see How reviews work.
That is the loop
Booking arrives → reminded → seated → completed → follow-up. Every booking, however it came in, goes through the same six steps. Once that is second nature, the rest of the help centre fills in the detail.
Worth reading next:
- How bookings work — the full picture of statuses and sources.
- Modifying a booking — when a guest rings to change the time.
- Cancellations and no-shows — how to handle the awkward ones.
See also: Every feature in Make a Rezzy