The Spektrix integration lets customers on your venue's website book a table at your restaurant for before or after the show — see Spektrix overview for the value at a glance. Connecting the two systems is a three-stage job:
- Your Spektrix system administrator creates an API user and a pair of customer attributes and a merchandise item.
- You paste the credentials into Make a Rezzy.
- You turn the integration on per widget.
This article walks through each stage in order, with links to Spektrix's own documentation for the additional support.
Before you begin
You will need:
-
A Spektrix system with at least one event already set up. Your
client name is the short identifier that
appears in your Spektrix admin URL — for example, the
your-venuebit ofsystem.spektrix.com/your-venue/. - Administrator access to that Spektrix system — or a colleague who has it and can do the first stage for you.
- Admin access on your business in Make a Rezzy.
What your Spektrix admin needs to do
The following need to be created in your Spektrix Settings Interface for the synchronisation to work:
1. Create an API user
Make a Rezzy uses Spektrix's API to read the guest's basket (so the widget can pre-fill the date of their show) and to write visit history back to the guest's profile.
Your Spektrix admin should:
- Follow Spektrix's guide on How to Set Up an API User to create an API user dedicated to Make a Rezzy.
-
Note down two things from the new user:
- The API username - name it "makearezzy".
- The API secret key — a long string. Once generated, you usually cannot view it again in Spektrix, so copy it somewhere safe for the moment.
2. Create two customer attributes
After a guest's booking completes, Make a Rezzy writes a short summary of their visit back to their Spektrix customer profile.
View the Customer Attributes guide on how to create new attributes in Spektrix and create the following two:
| Attribute name | Type | Used for |
|---|---|---|
| Last Dined At | Text | The end time of the guest's most recent completed booking. |
| Number of Restaurant Visits | Number | Count of restaurant bookings on the books for this guest. |
3. Create a merchandise item to represent restaurant bookings
After a guest's booking completes, Make a Rezzy creates a basket on the guest's behalf. It will add a "Restaurant booking" merchandise item to that basket which would be free, and will then confirm the basket.
This opens reporting and anlysis capabilities allowing you to better leverage Spektrix's CRM capabilities for your restaurant bookings. For example, you could create a segment of customers who have made a restaurant booking in the last month and target them with an email about your new menu.
To set this up, follow Spektrix's How to Set Up Merchandise guide to create a merchandise item called "Restaurant booking" with the following properties (anything else can be left as default):
| Property | Value |
|---|---|
| Name | Restaurant booking |
| Cost Price | 0.00 |
| Sale Price | 0.00 |
| Postage and Packing? | 0.00 |
| Tax Code | E - Exempt |
| Active | Yes |
| One Click Checkout Allowed | Yes |
Once created, click on the Website tab and press edit.
Apply the following settings (anything else can be left as default):
| Property | Value |
|---|---|
| Display On Website | Yes |
For more on what each attribute holds, when it gets updated, and how Make a Rezzy uses the merchandise item, see Data synchronisation.
Pasting the credentials into Make a Rezzy
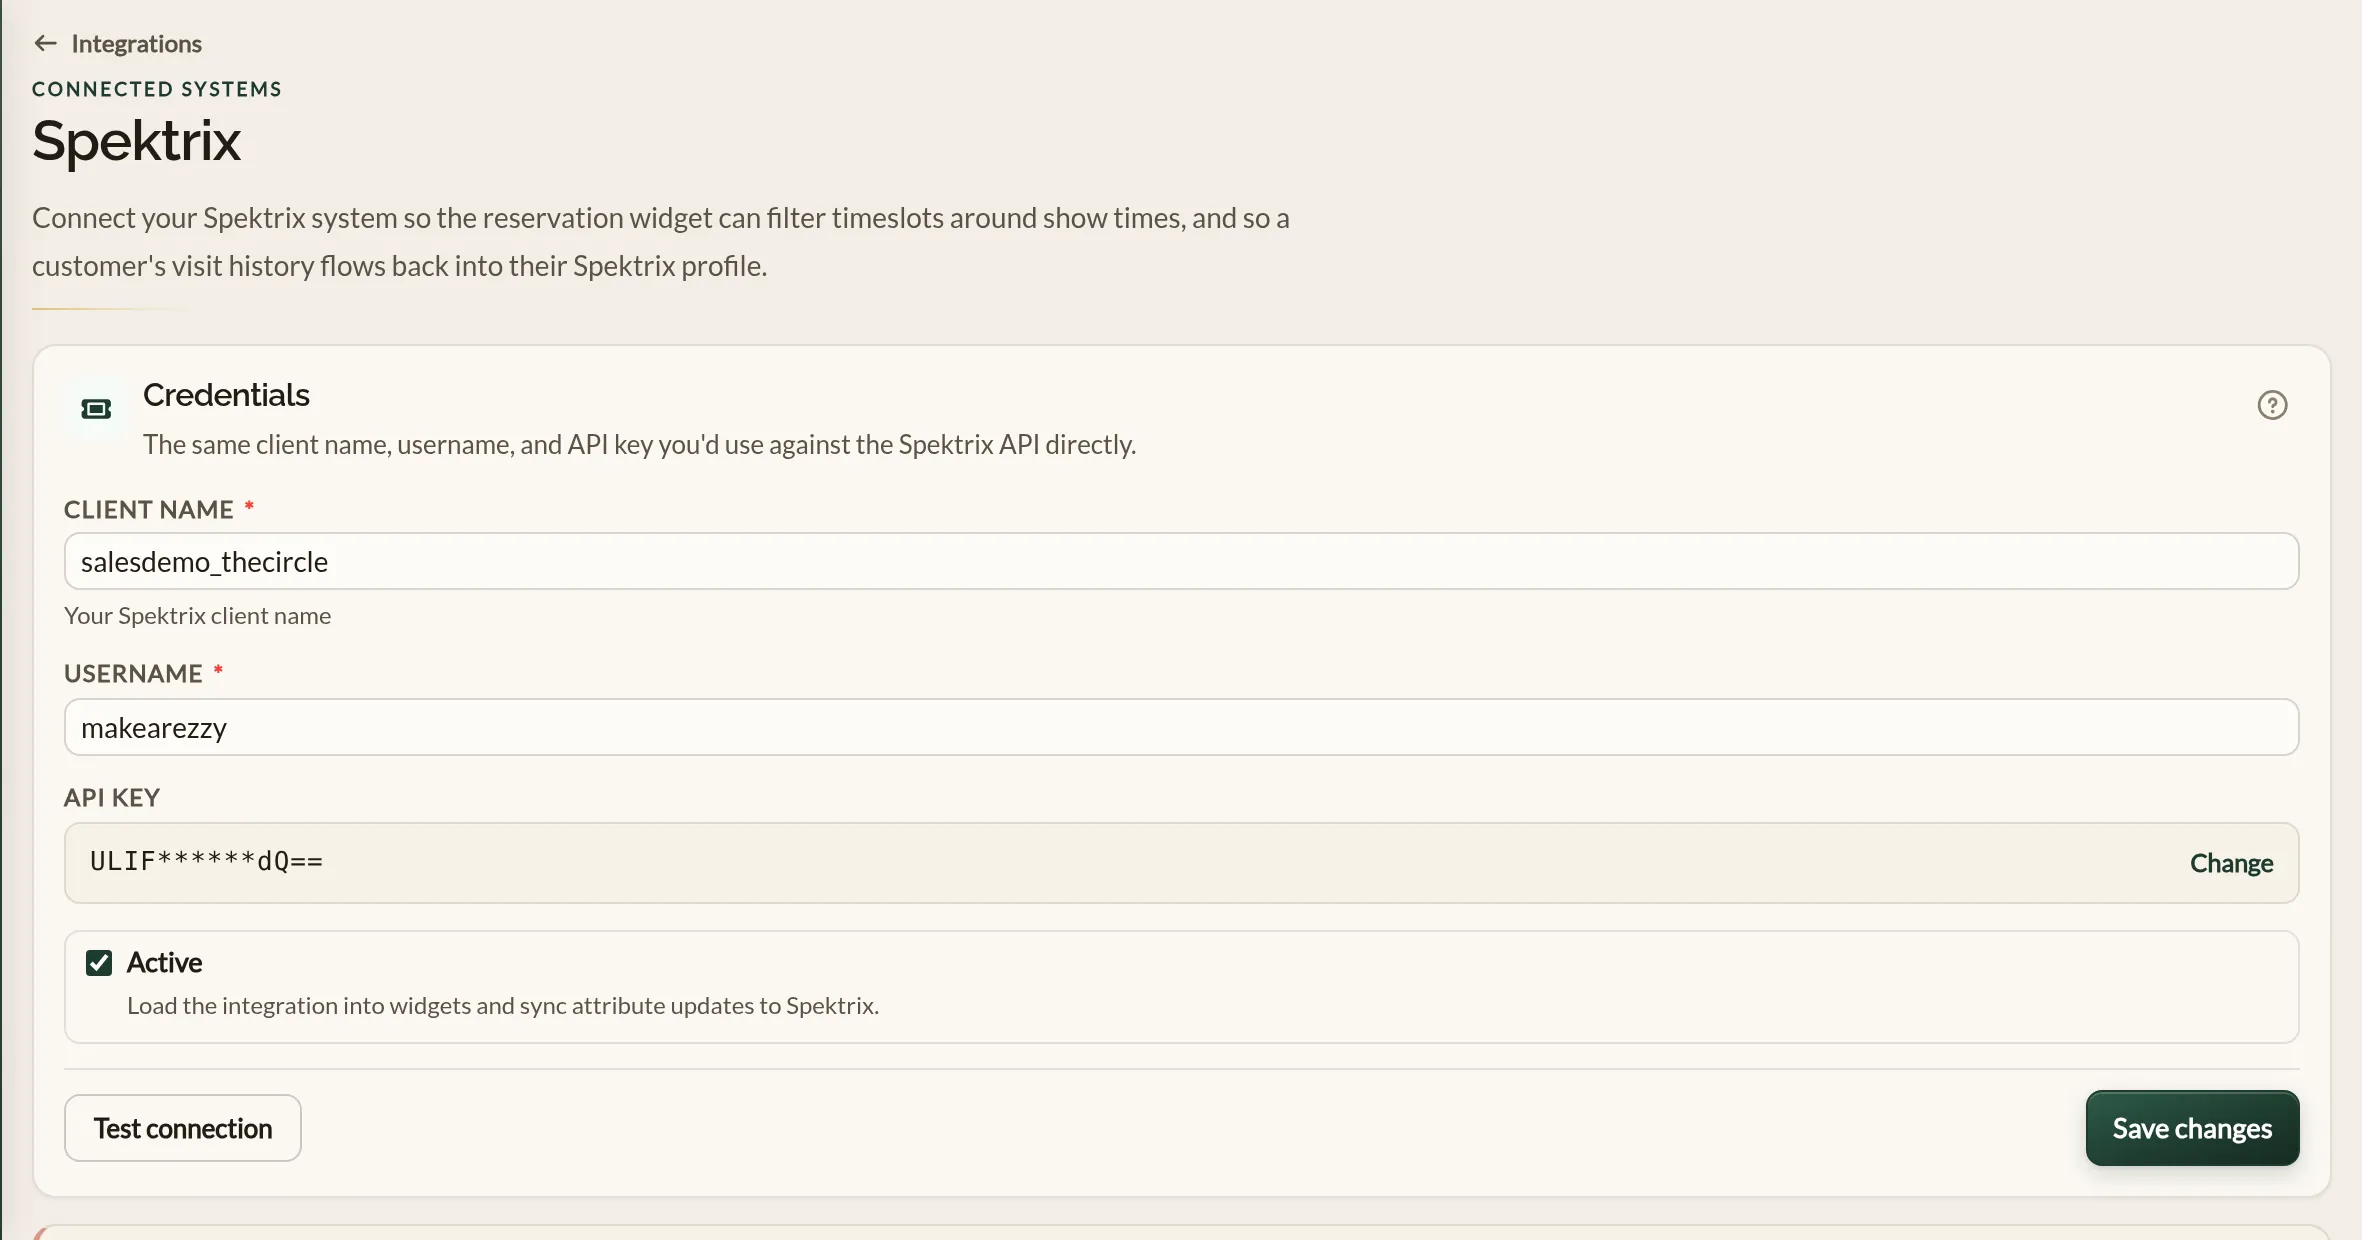
- Sign in to manage.makearezzy.com and pick your business.
- Open Integrations from the left-hand menu and pick Spektrix.
-
Fill in:
- Client name — the short identifier from your Spektrix admin URL.
- Username — the API username your Spektrix admin created.
- API key — the secret / API key.
- Click Test connection. A green Connected badge means everything reaches Spektrix correctly. A red Failed badge usually means a typo in one of the three fields — see Troubleshooting for what the status code is telling you.
- Tick Active if it is not already ticked.
- Click Connect (or Save changes if you are editing an existing connection).
Turning on the widget side
Connecting the credentials lets Make a Rezzy talk to Spektrix, but you still have to tell each individual booking widget to use that connection. Open the widget you want under Website Widget, switch Integration from None to Spektrix, and save. See Customising the widget for the full configurator walkthrough.
Once that is done, the widget will:
- Read the customer's Spektrix basket from the page the widget sits on.
- Pre-select the date of their show in the widget's date input.
- Tag the resulting booking with the basket ID so we can verify who the guest is in Spektrix.
Where to go next
- Data synchronisation — how to setup the data synchronisation between Spektrix and Make a Rezzy, and what data flows where.
- Troubleshooting — fixes for the most common sync problems.
- Spektrix integration documentation — Spektrix's own reference for everything on their side of the connection.