Your floor plan is the picture of your restaurant that Make a Rezzy works from. Get the tables in roughly the right places, give them sensible names, and the rest of the system has what it needs to seat a booking. You can put as much or as little detail in as you like.
Where the editor lives
Sign in to the manager site, pick your business, and head to Manage Floor Plans (under the management section). You will see a list of every plan attached to your business. Open one to start editing, or click Create Floor Plan to begin with a blank canvas.
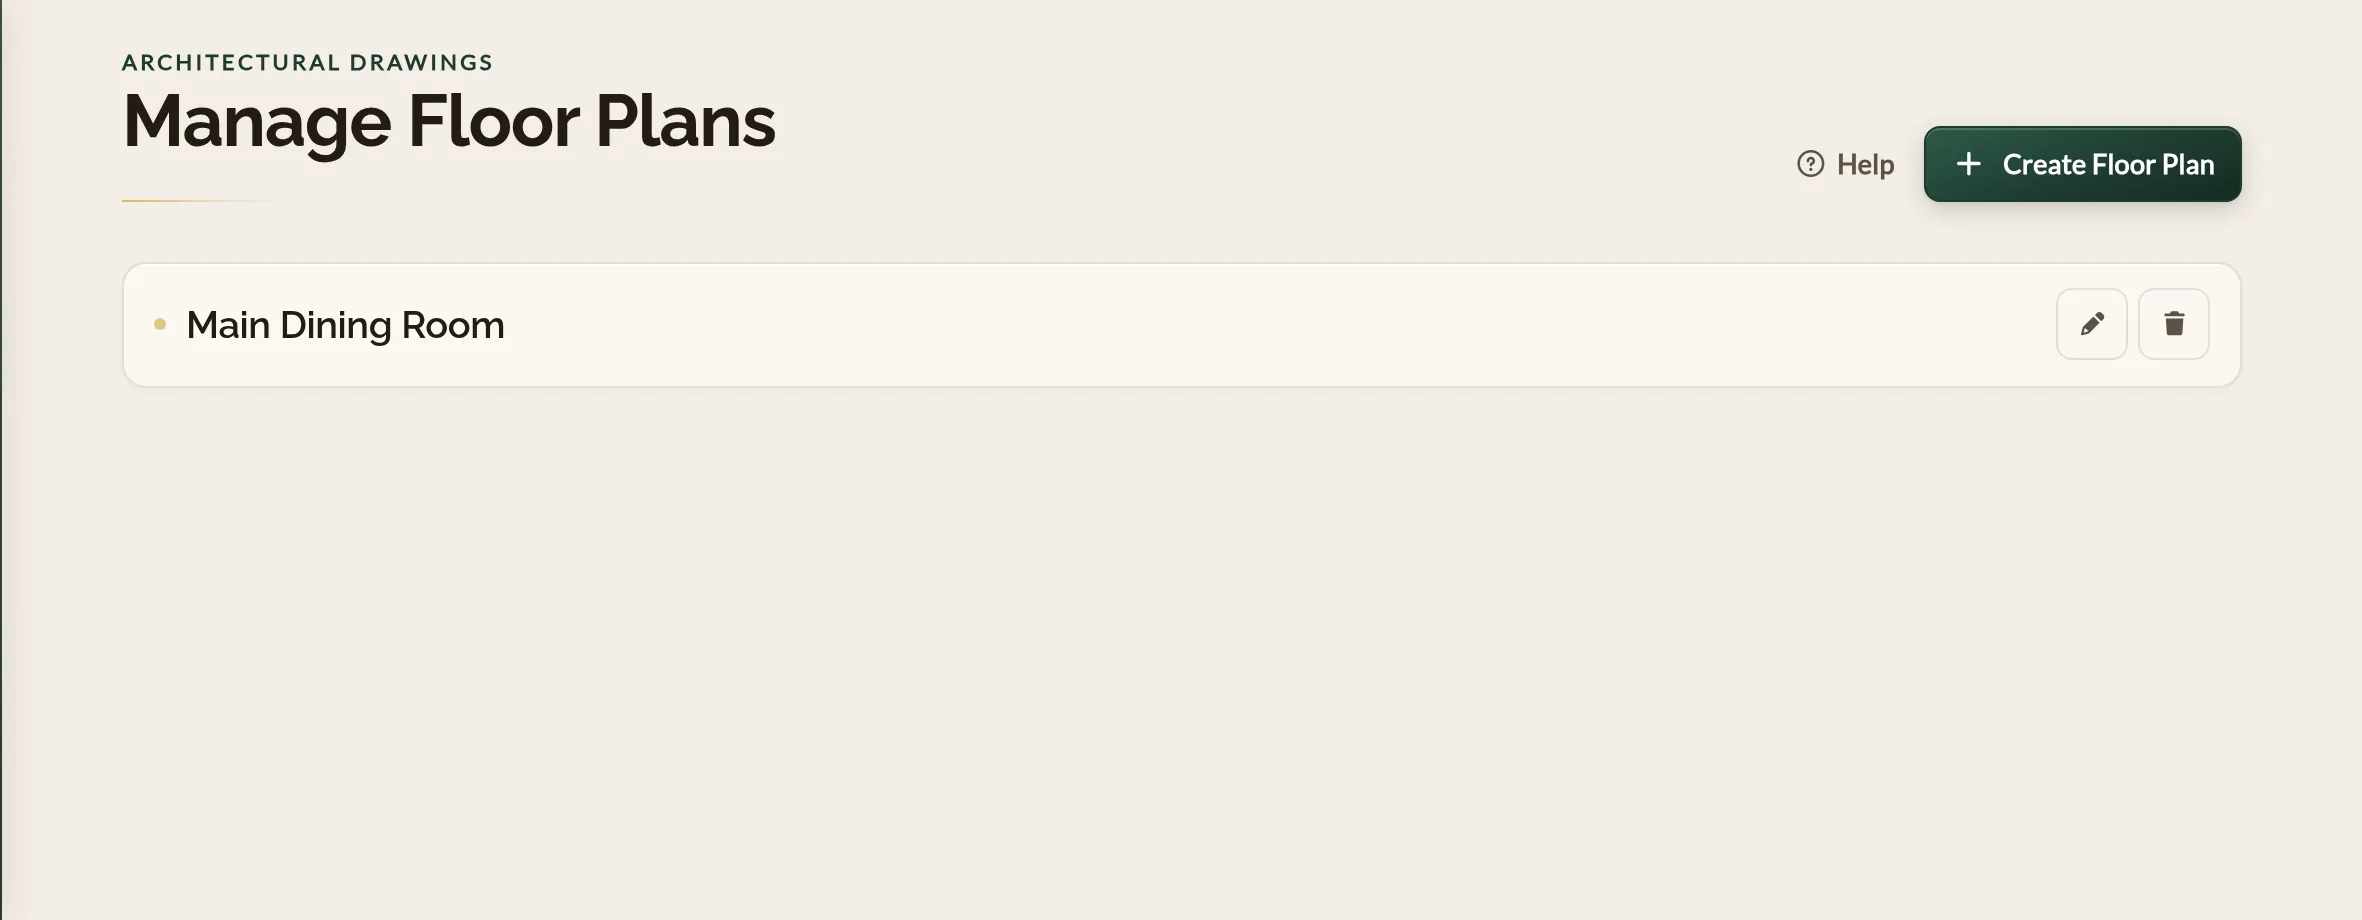
Floor plans are designed on the web. In the mobile app, open More and tap Floor plans under Setup to see every plan attached to your business with how many tables each one has. Edit on web opens the floor plans page on the manager site, and tapping a plan opens that plan's editor there. During service, the plan in use is on the Diary's Floor view — see Using the live floor plan.
Adding a table
- Click or tap Add Table (or Create New Table).
- Fill in the table's details (more on these below) and save.
- The new table appears on the canvas. Drag it where you want it.
Every table has these properties:
- Name — what you call the table on the floor. "1", "T12", "Window", "Counter" — anything goes, as long as it is unique within the plan.
- Seats — how many guests the table holds. This is what your team and the booking system will check against the party size.
- Shape — Rectangle or Circle.
- Width and Height — the size of the table on the canvas, in pixels. Resize visually by dragging the table's corner, or type the numbers in directly.
- X and Y position — where the table sits on the canvas. You will almost always set this by dragging the table; the numbers are there if you want to nudge precisely.
- Rotation — turn the table to match the room. Use the rotation handle that appears above a selected table or use the number field to set the angle in degrees.
- Floor / area name — an optional tag like "Patio", "Mezzanine", or "Private Room". Useful for your own notes; it does not group tables visually on the plan.
- Can share table — flag a counter or communal bench that more than one booking can sit at simultaneously.
- Can move table — for tables your team is willing to shuffle to accommodate a larger party.
Selecting, moving, resizing, rotating
Click a table to select it. A border appears around it, and two handles appear:
- The corner handle — drag to resize.
- The rotation handle (above the table) — drag round to rotate.
With the table selected, drag the body of the table itself to move it. Click the blank canvas to deselect.
Tables are moved, resized and rotated in the editor on the web. The app shows the finished plan; it does not edit it.
Saving
There is no Save button. Every move, resize, and edit is saved to your account as you make it. If a change fails — for example, because two tables ended up with the same name — the change is rolled back and you will see a message explaining why.
More than one plan
You can have as many floor plans as you like. New plans come up named "Untitled 1", "Untitled 2", and so on — rename them to something meaningful as the first thing you do.
Different plans are useful for things like:
- A daytime layout with the bar closed off, and an evening layout with the bar open for booking.
- A summer plan with the patio in use, and a winter plan without.
- A private hire layout that swaps the standard seating for long banquet tables.
Only one plan is active at a time, and which one is active is controlled by your Availability — see Linking tables to services.
Unassigned tables
Tables you have created but not yet placed on the current plan appear in the Unassigned Tables panel. Click Add next to one to drop it onto the canvas at the top-left corner; from there, drag it to its spot.
Deleting a table
Select the table and use Delete in the properties panel. This will delete the table from your current plan. If the table is not used by any other plans, it will be deleted from your account altogether and will no longer be available. Any bookings that were on the table will be unassigned and need to be moved to a different table.
Where to go next
- Linking tables to services — how Make a Rezzy decides which plan is in play at which time.
- Using the Live Floor Plan — the read-only view your team uses during service.
- Setting your opening hours — the schedule that feeds your availability and, through it, your active plan.
See also: Restaurant table management